It's time - pantry refresh reveal!

How’s everyone going with kitchen month? Hopefully you’re feeling just a little bit inspired to rev up your kitchen - starting with a pantry refresh! Yep, I threw you in the deep end by doing this first but it was for a reason - often the pantry seems the most daunting task. But I’m here to rip that bandaid off and let you know it can be done in less than an hour! Can I get a hells yeah?!
Below is a nifty little time-lapse of everything going back into my pantry at home. As stated in the recommendations for before you get started, I pulled everything out before starting the timer. Full disclosure here - I actually did this exercise a couple of times because I found something on the bench that needed to go back in, AFTER I had hit stop on my time-lapse. Whoops. There is no turning back when you have already put the empty packets in the recycling bin, so the second time around there is no evidence of me decanting my products. This made the second time go a lot faster, but the first time was honestly around the 35 minute mark, starting with a completely empty pantry (shelves wiped and lined) and ending with everything back in situ.
My kitchen brief
The top and bottom shelves were not included in the refresh - they are fairly low fuss and I don’t access them frequently, so no point in wasting energy on them. That left three main shelves for my cooking supplies, and one shelf for Otis’ stuff (more on that later).
I wanted a pantry that was easy for me to reach in and grab the things I need quickly, without having to reach “around the corner” of my awkward pantry for staples.
Visibility is key for me so see-through containers are a must - I like to be able to quickly see what I am running low on to speed up writing the grocery list.
I am a fairly basic home cook and I tend to make similar meals most week (yawn for some of you but I love the routine, haha). So this is definitely not a foodie pantry that is bursting with exciting spices and flavours!
I don’t bake often so it’s no problem for my baking supplies to be tucked around the corner.
My main gripe with my existing set up was the Otis shelf, lack of visibility for my oils and vinegars, and a few rogue packets that need to be decanted into containers.
The Otis shelf
Something that works well in my kitchen is having a shelf at toddler height available for Otis to get into - this has become a lifesaver when I’m preparing meals and need him close by but not necessarily right on me. I had previously repurposed a pullout storage drawer from elsewhere in the house, and used it to keep baby-safe bits and pieces close at hand. Mostly it is filled with things he actually uses (everything in there is functional) like cups, spoons, etc - so not just a dumping ground for yet more toys. More like a heuristic basket of interesting treasures that he doesn’t get access to everyday. ANYWAY... That had become a dumping ground and was no longer a functional place to store his things, and was also tricky for him to actually get into and play with. So the Otis shelf was high on my list of things to sort.
How it went down
Because I had my containers (for decanting) ready to go and a clear idea of what I wanted to achieve, the refresh went really quickly and I’m pleased with the results. Some stuff didn’t go back in - turns out the Otis shelf was more of a dumping ground than I had realised, and I found some items that needed to be moved elsewhere. Baby-related things I want to keep, but that don’t need to take up prime real estate in my pantry. I also had a stack of paper napkins, party plates, cups and cutlery, that didn’t go back in immediately - I needed a larger container and didn’t want to weirdly disappear off camera for minutes while I went to find it, haha. So I tucked those into a cube container, labeled it, and put it in the rear of the Otis shelf for easy access when I need it (but it’s safe from his busy little hands).
Products:
Shelf liners - my old shelf liners were in reasonable nick, so I didn’t replace them. I’m all for things looking crisp and new, but I’m more for the environment and not sending stuff into landfill when it still has years of life in it. I recommend the Briscoes product, but wait for it to come on sale if you aren’t in a hurry!
Cube containers - I bought mine from Howards Storage World several years ago and they no longer operate in New Zealand. Click Clack does a great cube shaped product.
Pull-out storage drawers - buy from Kmart.
Clear plastic storage drawers - buy from Kmart. There is a great range of sizes, if you search “pantry drawer” you’ll see all the options.
Turntable - buy from Kmart. You can buy white or grey ones elsewhere (Storage Box) but the Kmart option is a lot cheaper - because I can’t really see mine, I went with the cheaper option.
Turning container set - this one is the Joseph Joseph Foodstore Carousel and it is honestly one of the great sadnesses of my life that it is no longer available.
Foldable shelf - buy from Kmart.
Shelves for can storage - buy from Kmart or Storage Box.
Cube container - buy from The Warehouse
Assorted Sistema containers that were in my Tupperware drawer.
Top tips for when you’re ready to have a go:
Have your containers washed/dried, and your labelling method close by; I chose chalk pens. PRO TIP: If you want to use chalk pens, beware that the ink smudges when wet. So handle with care when putting your containers back in the pantry, or if you aren’t trying to break the land-speed record with your pantry refresh, wait a few minutes for them to dry.
Be mindful of what you are trying to achieve - I recommend having a think about this before you start so you can be clear as you are putting things back if they make sense. If the aesthetic is more important than functionality (and that is cool - you might do very little cooking at home, for example) then your pantry will look quite different to mine, from layout to the types of containers you use.
A note about corner pantries (or deep pantries, or any pantry where you are storing things out of “normal” reach if that makes sense). You will see that I use the corner space for either storage of infrequently used items (vases, Easiyo gear) and for storing food stuffs that I don’t use daily (my baking supplies). When it comes to using that corner space for food storage, those pull out drawers are an absolute lifesaver - there are some key principles to make them a success:
Store like with like - for example, don’t chuck a whole bunch of rice/pasta supplies in with your baking. That will get confusing, difficult to find you’re looking for, and will soon become an unsuccessful mess. So store like with like, and then…
Pull the whole thing out when you need to use it. Not necessarily all the way out of the pantry, but all the way out of the corner of the cupboard. This will save you a crick in the neck from trying to weirdly reach at an obscene angle. So pull the whole thing out, which means…
You’ll need to play a bit of Tetris getting the layout right IN FRONT of your pull out storage. You’ll see I have plastic drawers with snacks, breakfast supplies and spices respectively. (Note - all stored like with like!) I can quickly move one tray of breakfast spreads (instead of six separate things), one tray of snacks (instead of 1 million individual packages) and one tray of spices (instead of 25 separate things), when I need to pull out my baking supplies. I call this the Rule of One Versus Many (ROOVM haha) and it is a great tool for boosting efficiency.
It’s totally OK to “hide” things in the pantry. I hid our lime milkshake syrup and chocolate ice-cream topping (out of sight, out of mind). In your pantry you could “hide” sometimes foods on a high shelf or in an opaque container.
A final note about storing things behind other things. Sometimes this is inevitable and that’s ok. If you need to do this, I recommend storing a frequently accessed item at the front, and using the full vertical height of your shelf to store things behind. An example of this is my can storage - I have my baby bottle steriliser which is used every day. I don’t often use my canned goods (in the case of an emergency, I’m ready to live off asparagus rolls, haha), so I’ve used my extendable shelf to store them behind the steriliser. I can see what cans are there, and can easily move the steriliser if I need to access the chickpeas. To really maximise that space I have used a light-weight shelf to get the steriliser off the shelf, and giving me additional vertical height at the front of the pantry as well (and a place to store my toothpicks, eggs, and salt and pepper shaker.
WOW I think I need to do a whole separate post on using the vertical height in pantries because I have a lot to say about it!

Pantry before - the three main shelves

The Otis shelf before

To be re-homed - not in the pantry!
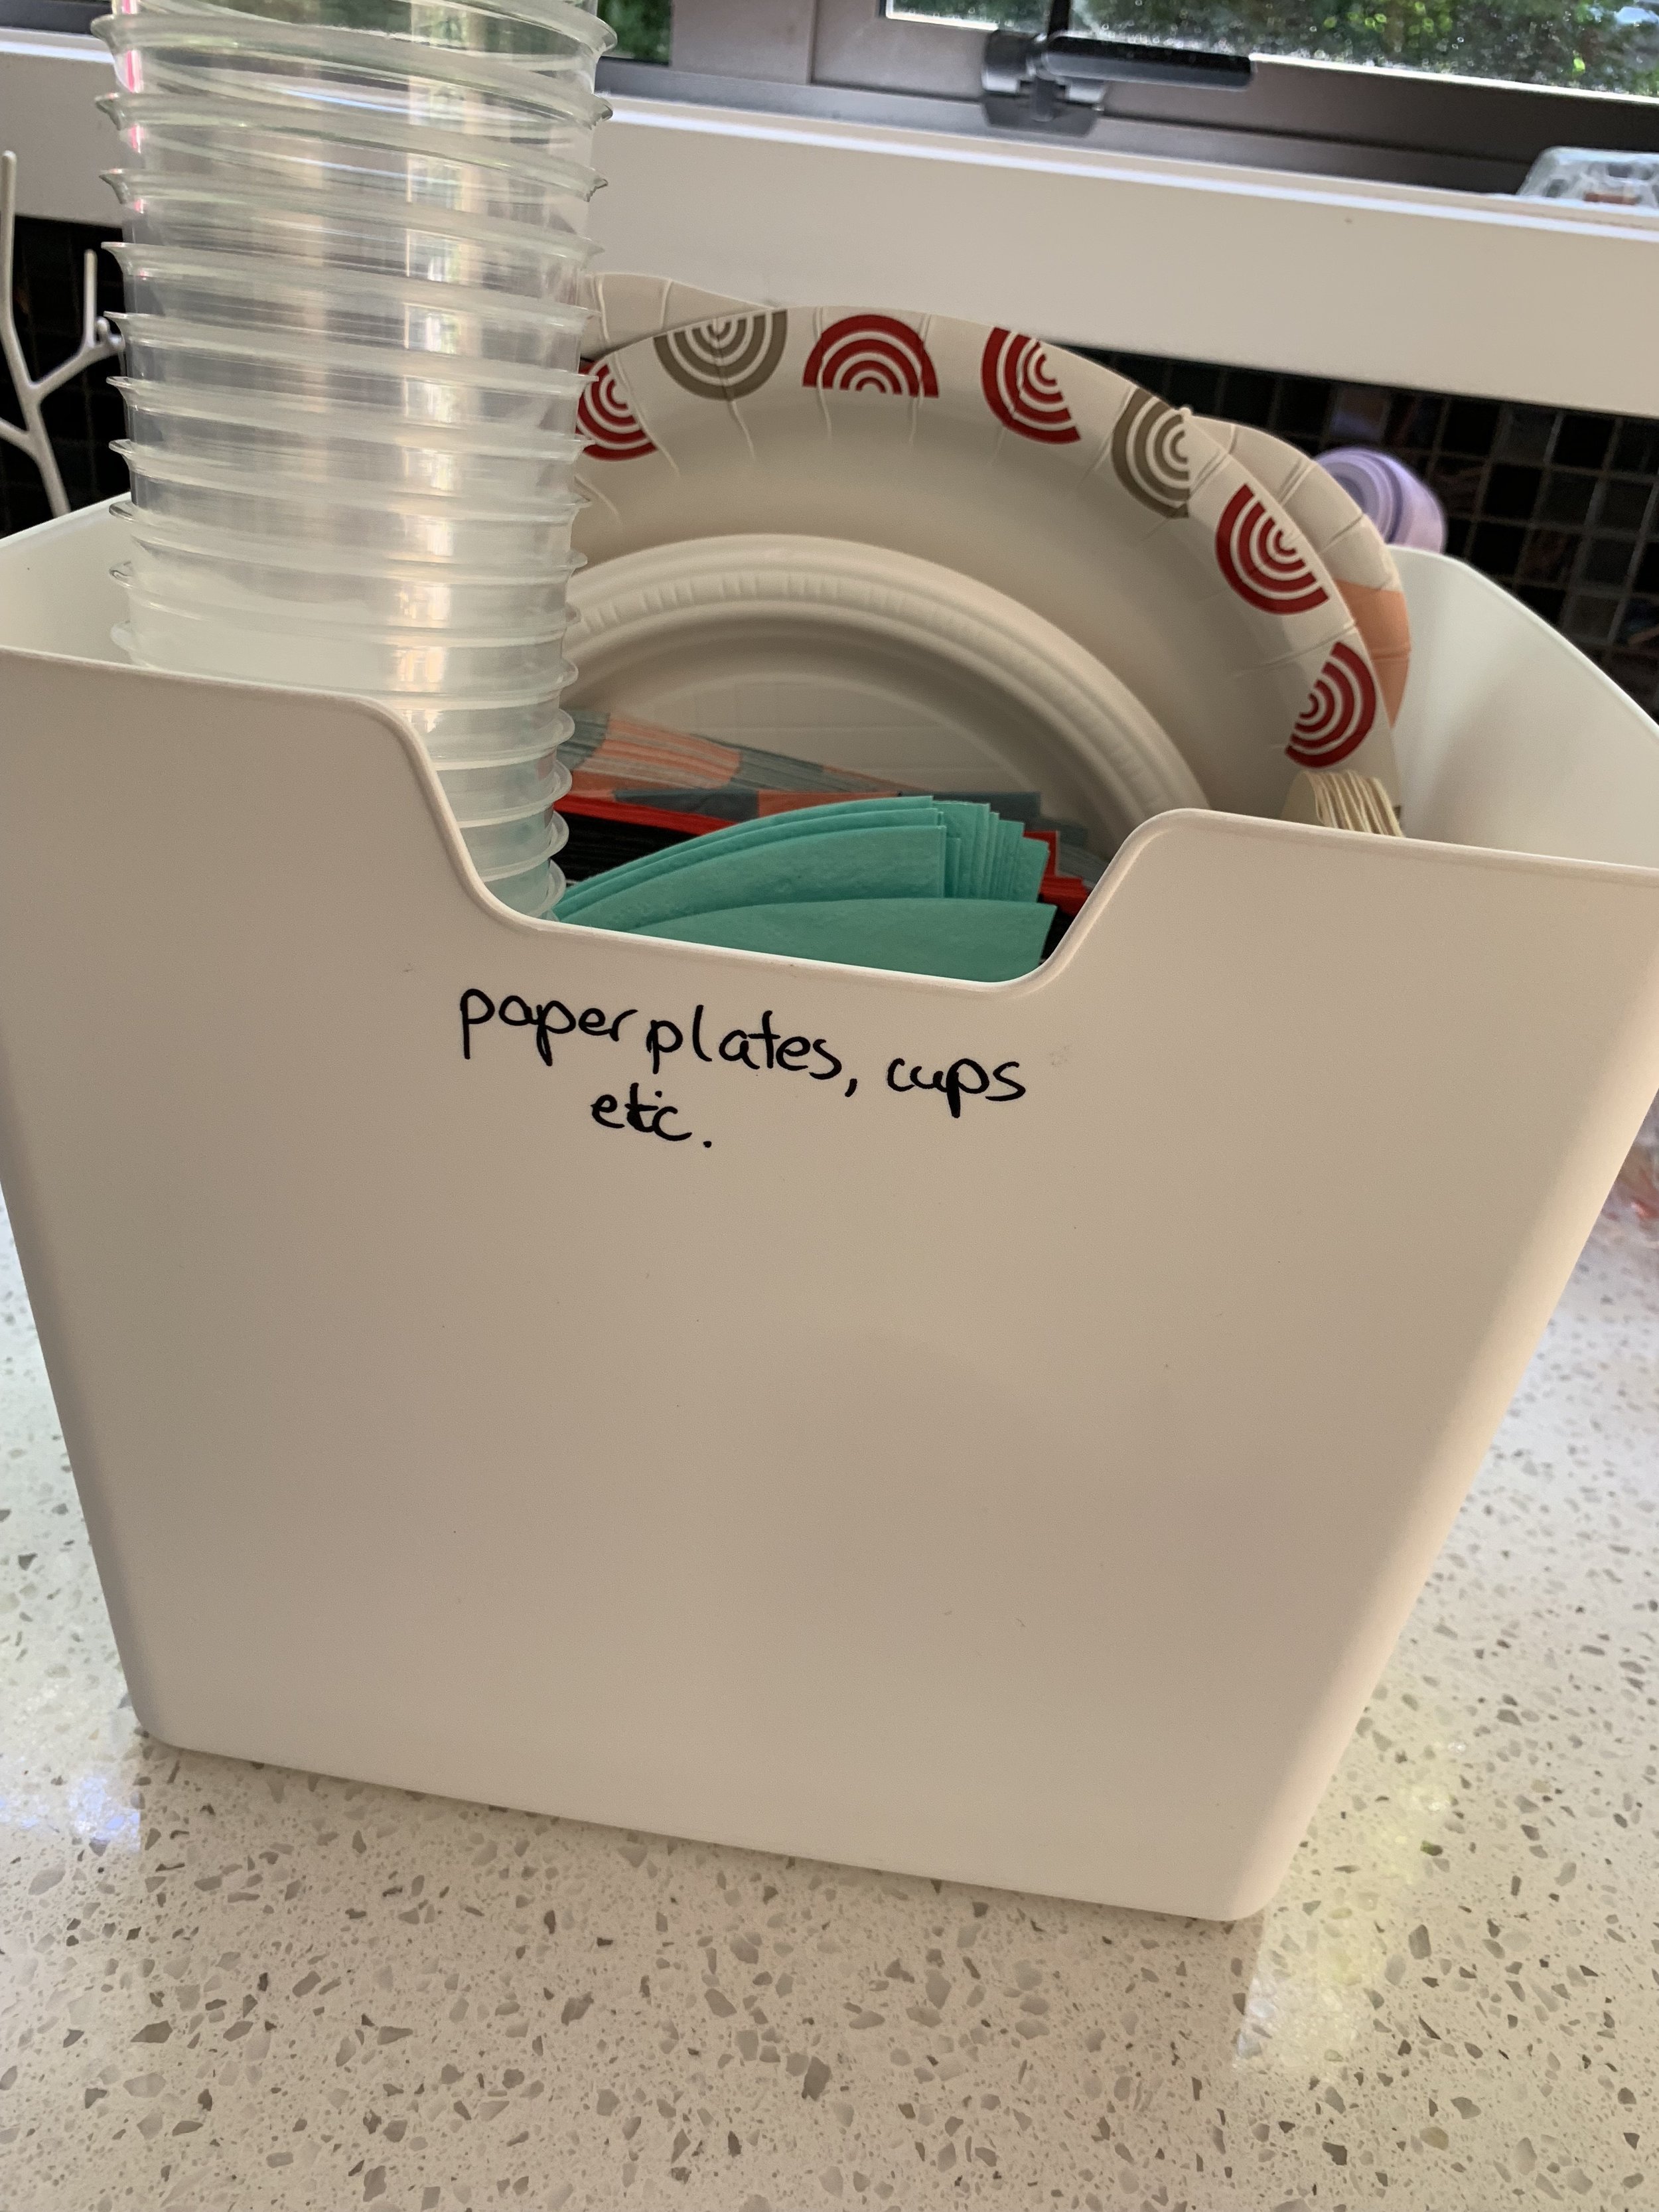
PARTY PLATES AND NAPKINS
Now contained and relocated to the depths of the Otis shelf - out of sight and out of reach!
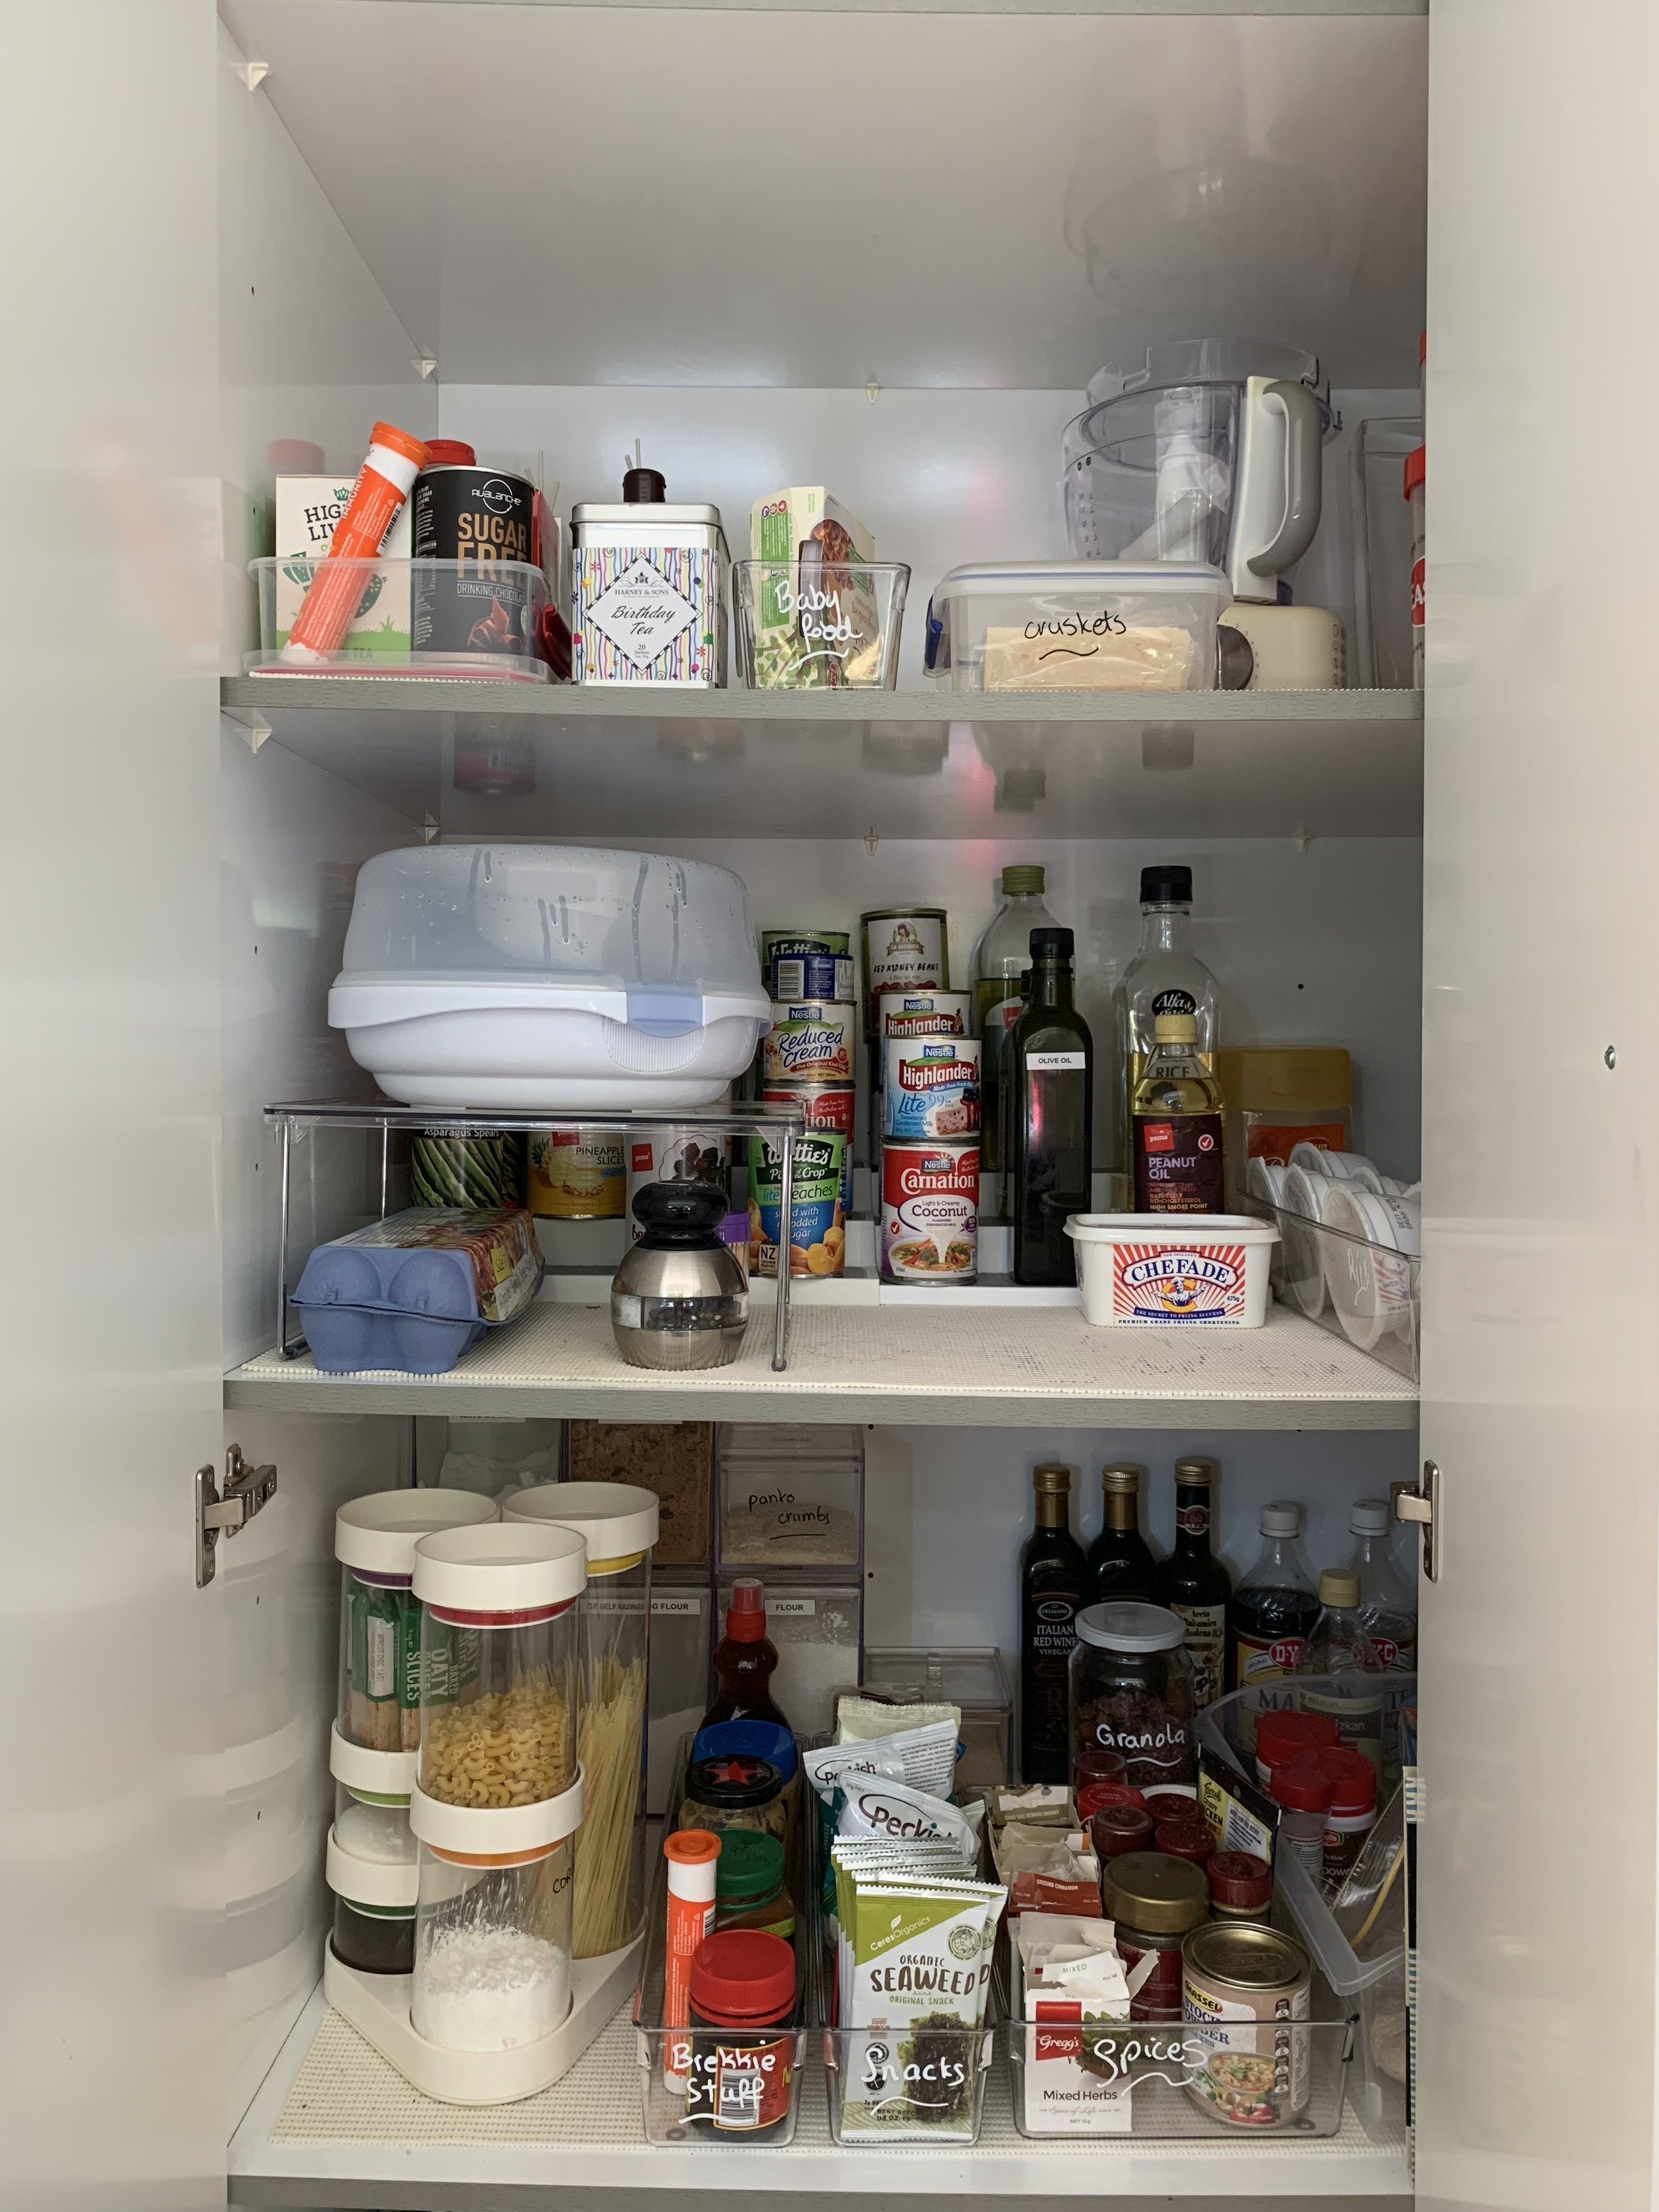
Pantry - after!
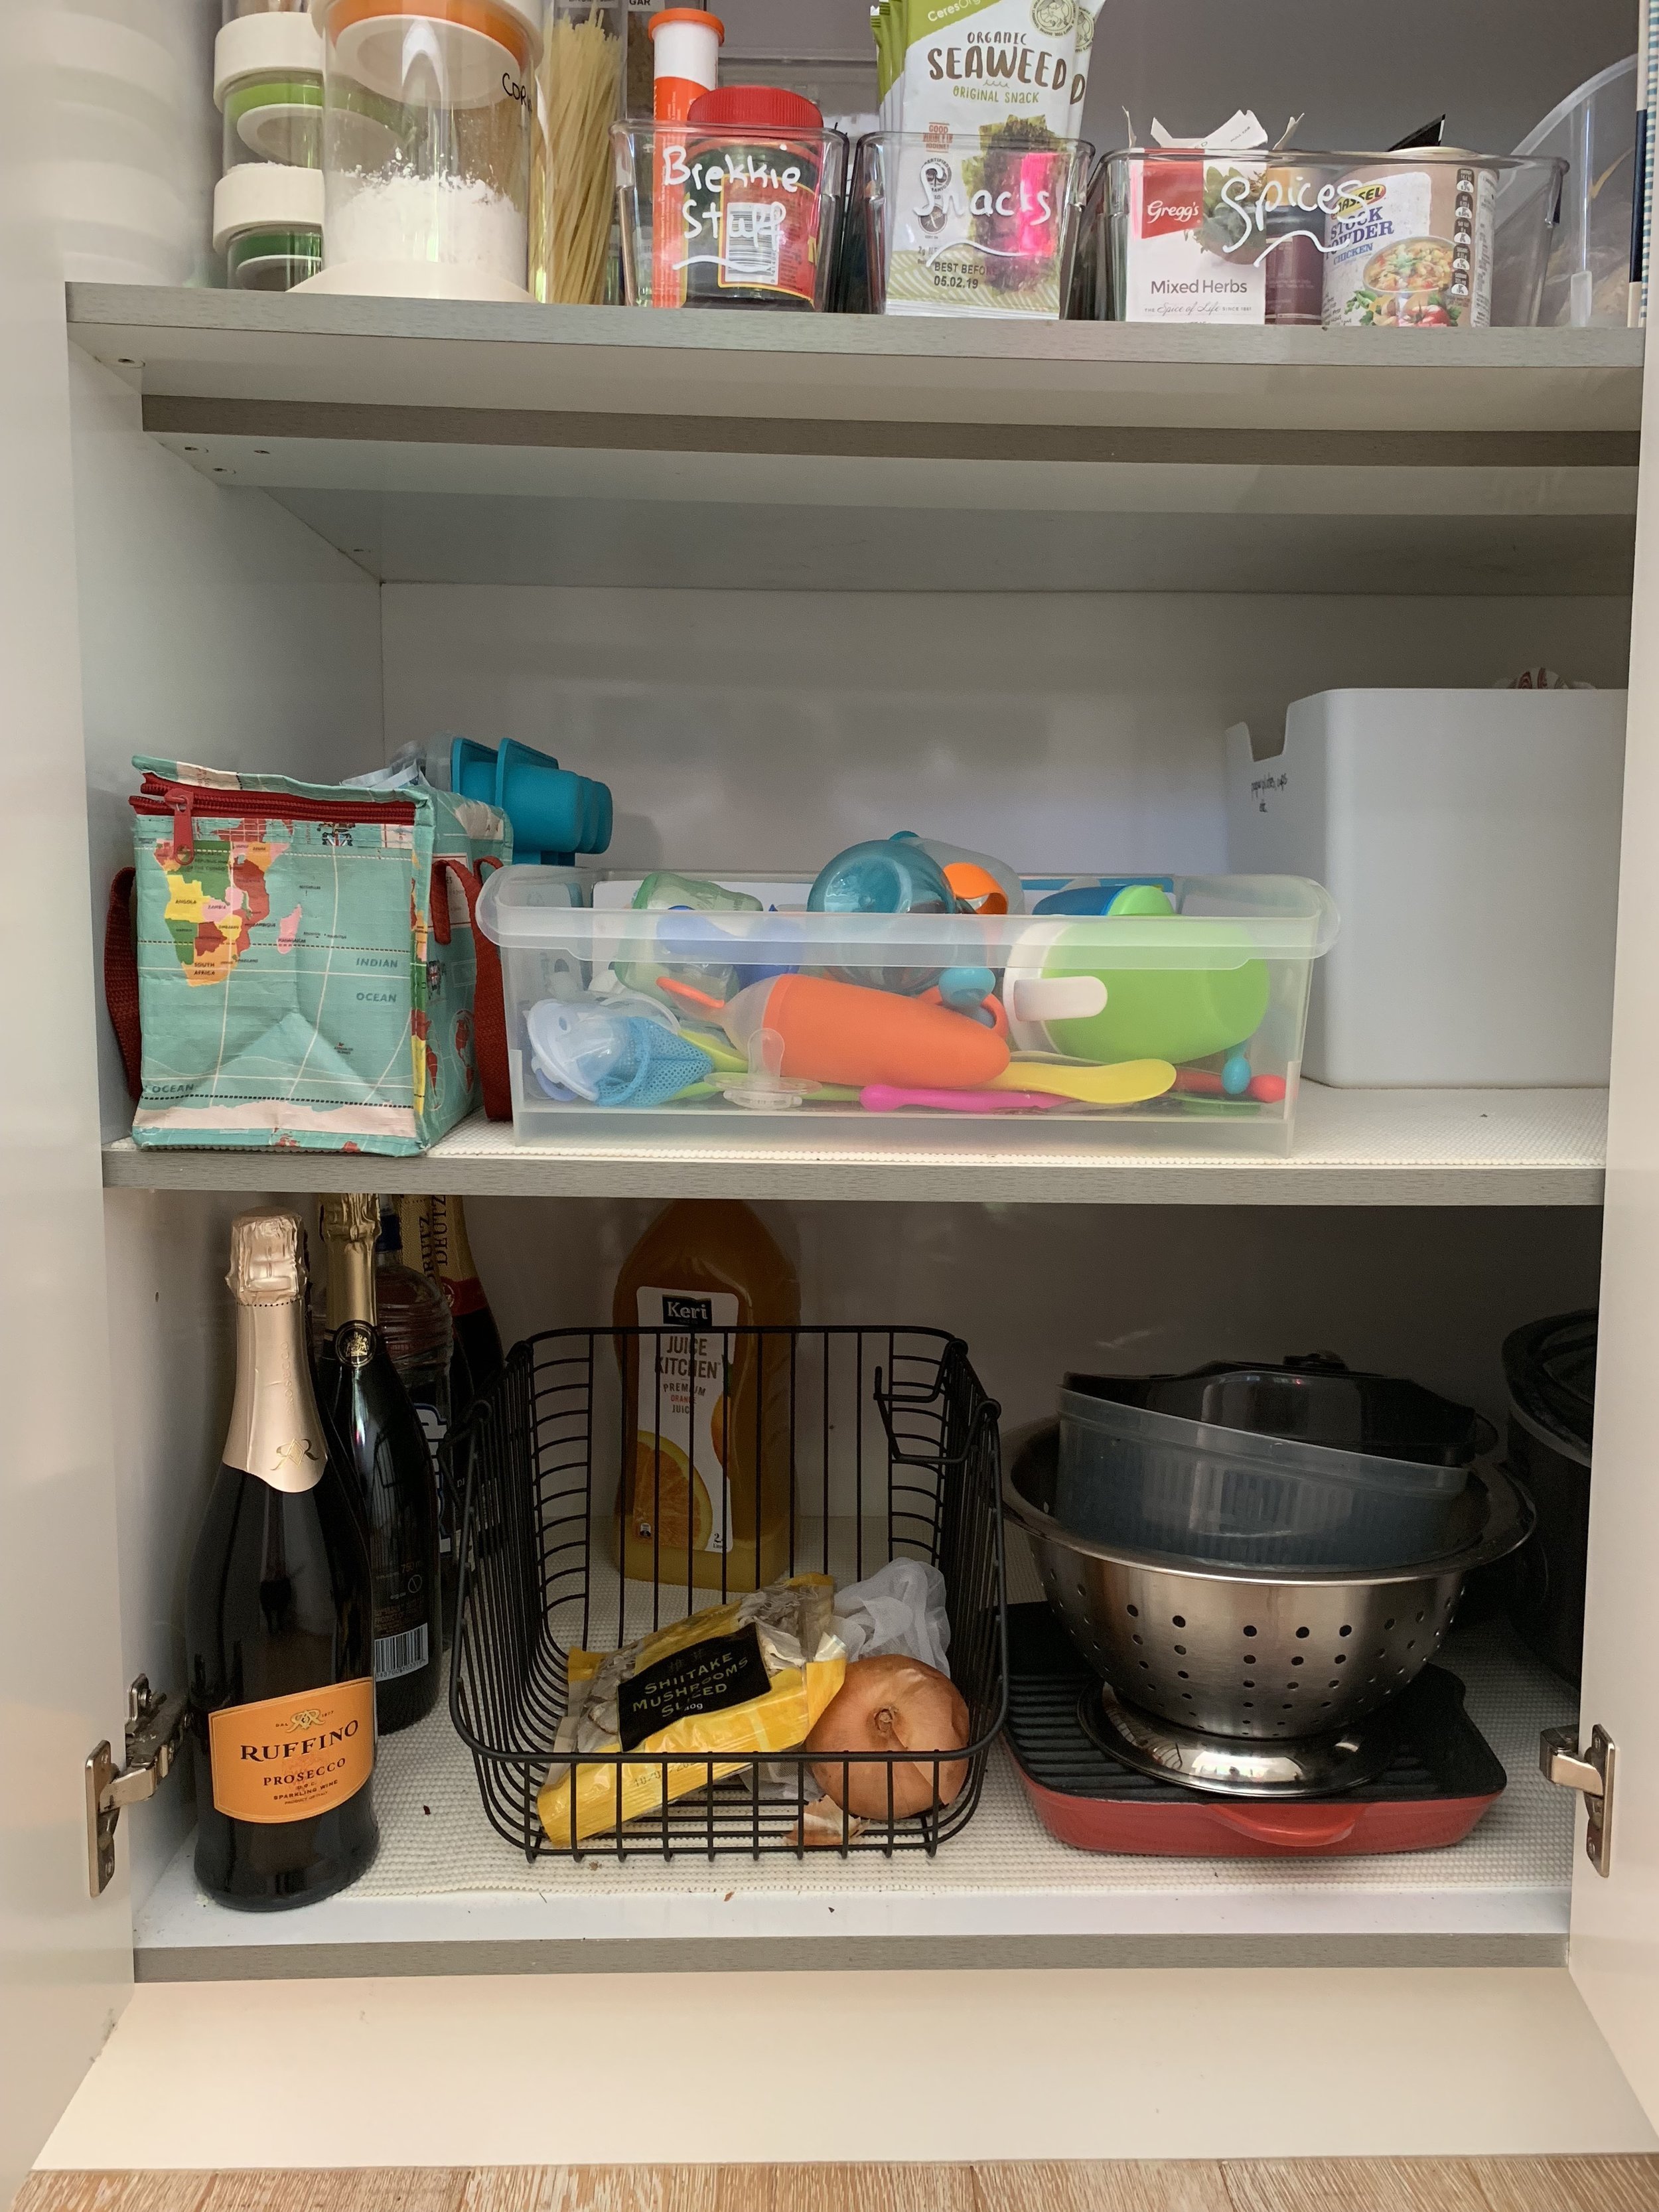
The Otis shelf - after

The Otis shelf in action
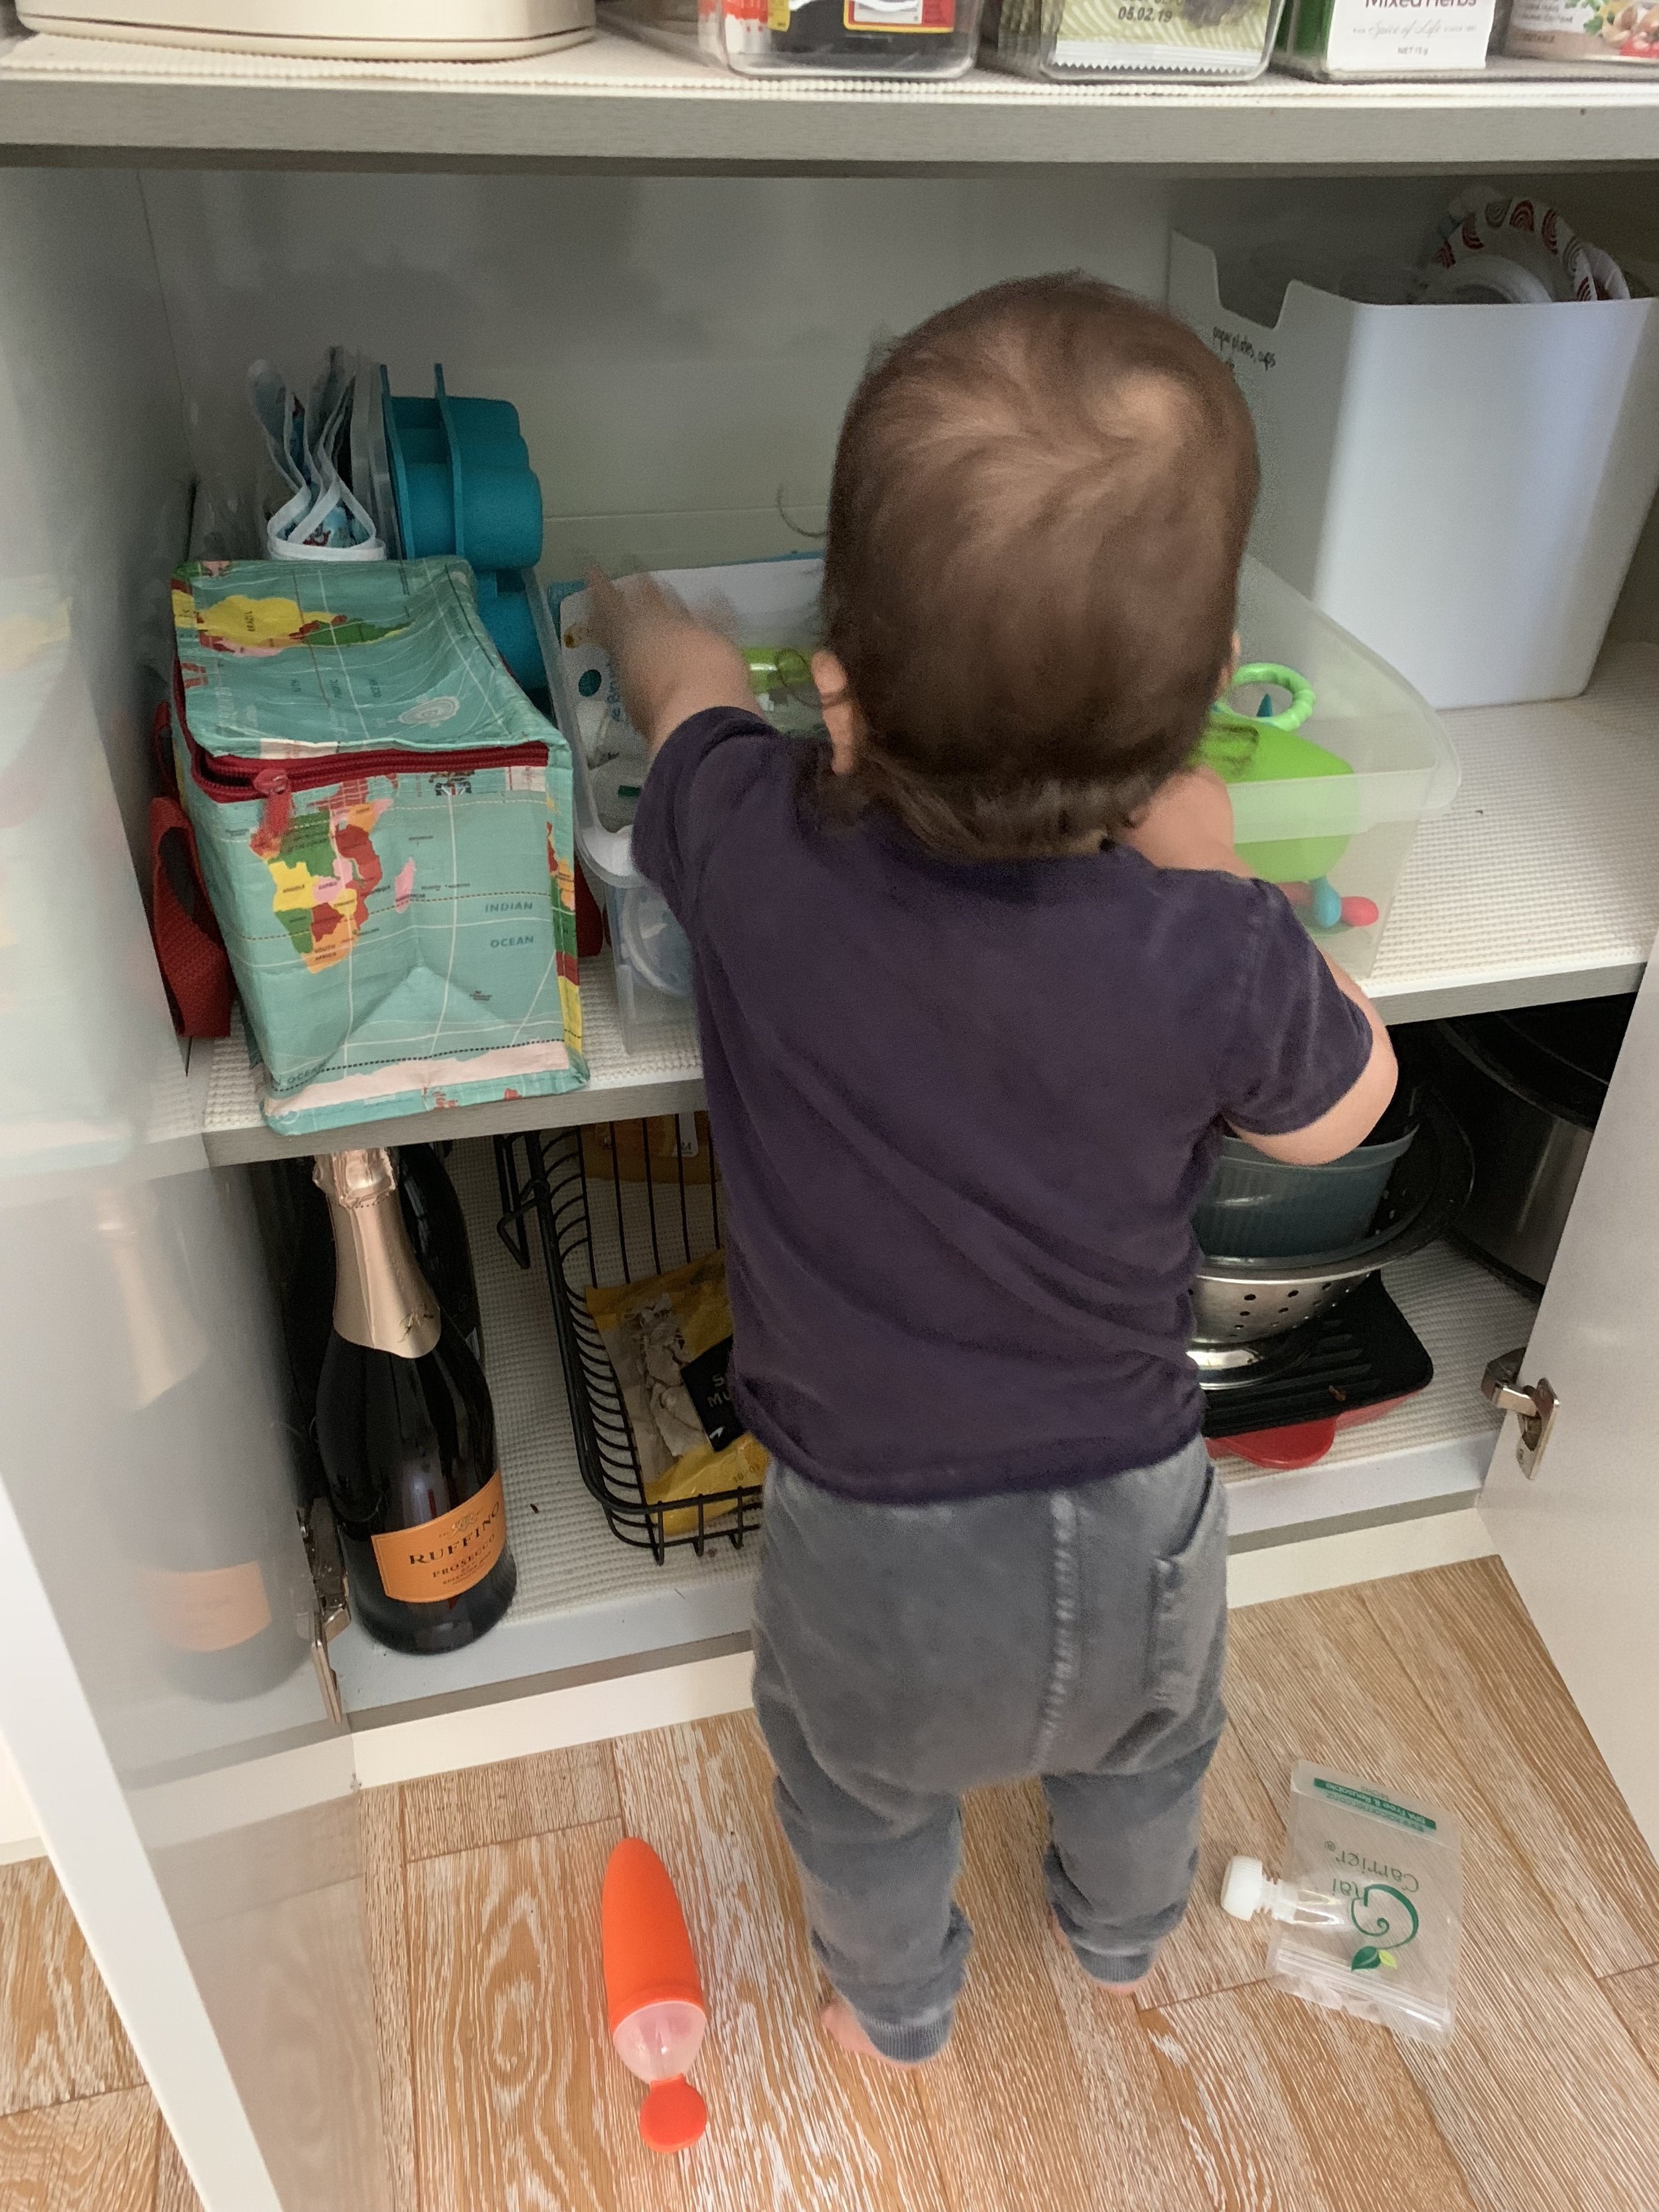
The Otis shelf in action
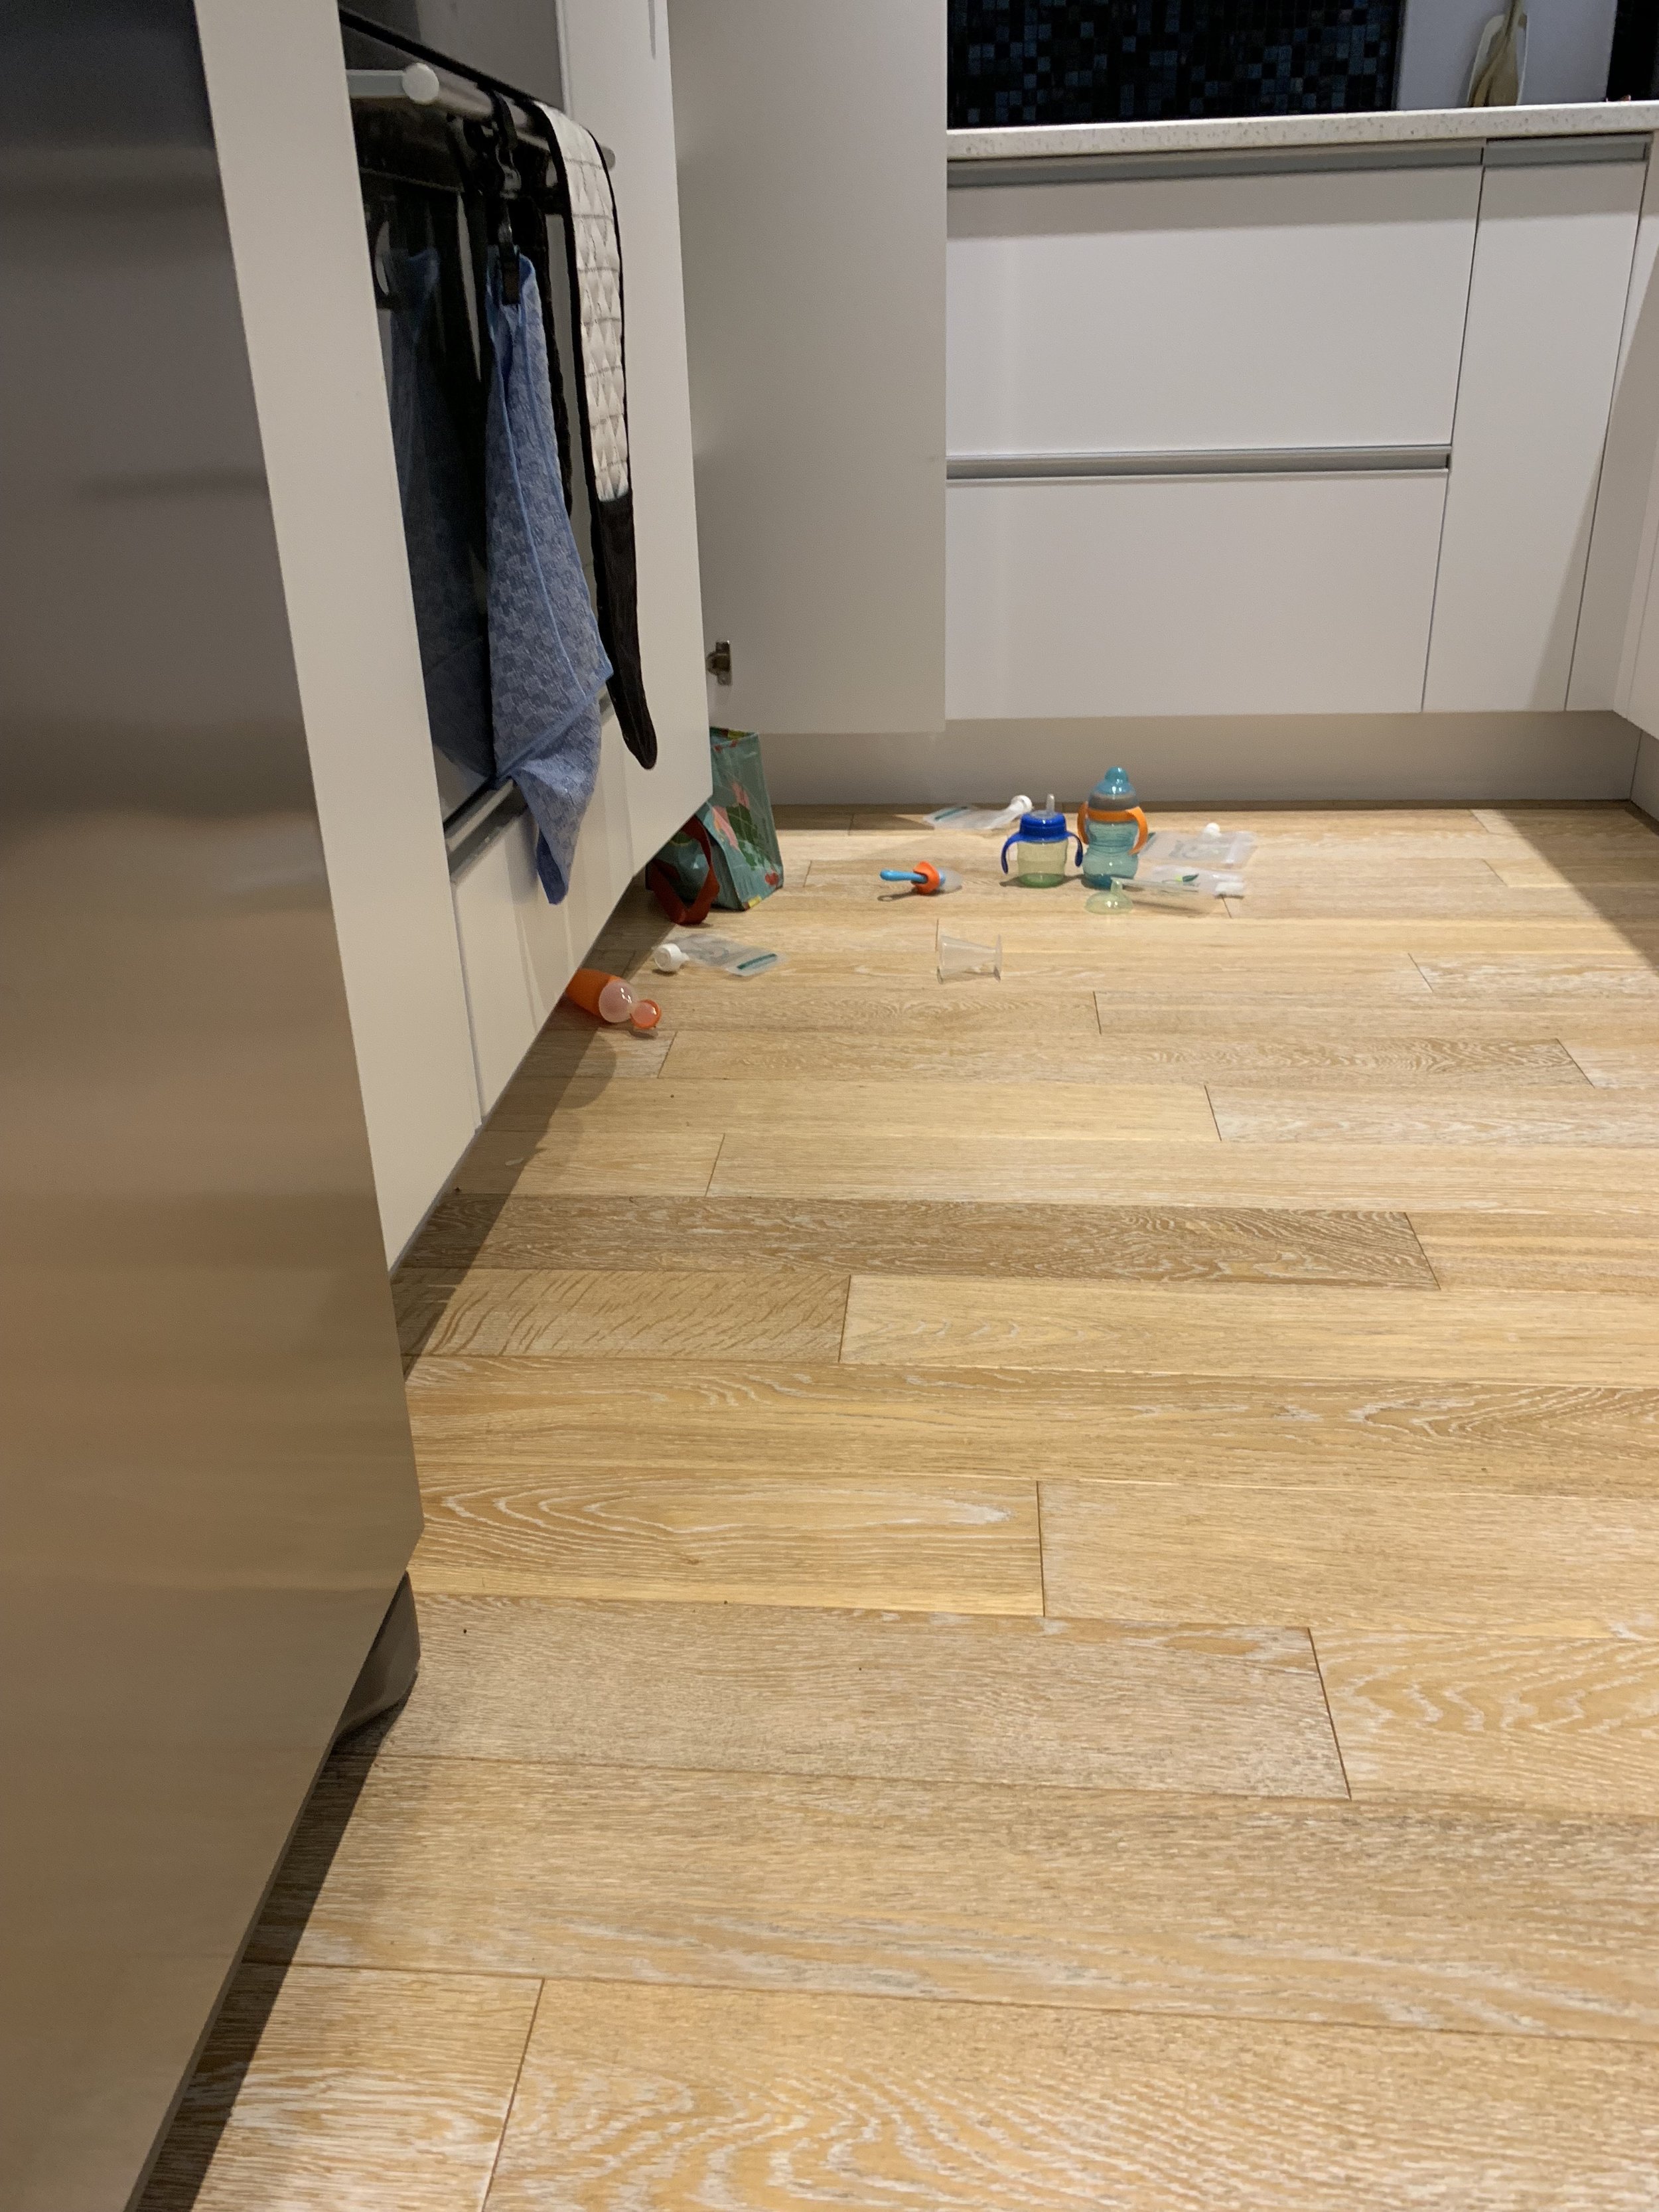
The Otis shelf - aftermath!
Super easy clean up - either pull out the drawer and chase the mess around, or scoop up and return to the drawer if your toddler handily plays right in front of the cupboard, haha!
So that’s us! The first task of kitchen month is done and dusted for me - when will you have a go at yours? If a pantry refresh sounds great but you don’t have the time or energy, book a call with me and we can make a plan to bring you the pantry of your dreams.